Pinholes and bubbles amount to small defects but big headaches and it can be a constant frustration even for the most seasoned applicators to make sure everything looks okay. But if that makes them just sound like aesthetic concerns, then think again. Pinholes and bubbles can cause functional problems for your polyurea coatings that will make you forget all about how it looks, weakening them until they’re no longer a barrier but a portal directly to the underlying surface. Now don’t worry, it’s not all doom and gloom; the good news is that pinholes and bubbles are largely if not entirely avoidable, if only you can get them under your control. That starts by developing a more advanced understanding of where exactly they come from and how to keep them away each and every time you use your spray gun.
What Causes Pinholes and Bubbles?
Pinholes and bubbles don’t just appear out of thin air, or at least, that’s not exactly true nor does it paint the full picture. Moisture hiding in your substrate or infiltrating from the environment is often the mastermind of your adversity. When polyurea meets even the smallest amount of water, carbon dioxide is quick to appear on the scene, and suddenly you’ve got bubbles where a smooth coating should be! But moisture isn’t working alone, and actually has a few partners in crime. Sloppy mixing ratios is its first co-conspirator but that’s just one of many – humidity and extreme temperatures also like to help out with making your job about as difficult as it could ever be. And if you didn’t already have enough to worry about, even your spray gun might betray you! Trapping air thanks to inconsistent technique, not even your most trusted device can save you from a lack of preparation.
Stop Problems Before They (Or You) Start
Pinholes and bubbles love a poorly prepped surface; dust, moisture, and other invisible enemies lurking in your substrate are basically just rolling out the red carpet for trouble. So if you want to keep them out, you’ll want to start with a surface so clean it would pass a white-glove test – no grease, no dust, no nothing! But cleanliness is only just the beginning. We’ve already identified moisture as the stealthiest saboteur, so be sure to have a moisture meter on hand to confirm the substrate is definitively bone-dry before you even think about touching that spray gun. Perhaps most importantly, do not underestimate the power of a good primer; it really is your secret weapon to lock out gasses and prevent anything ruining your pristine finish.
Get It Right When the Spray Gun Is in Your Hand
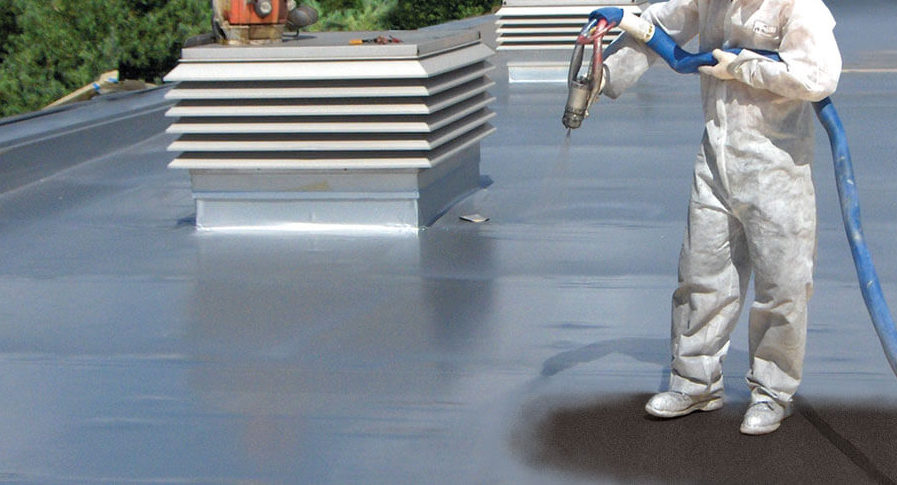
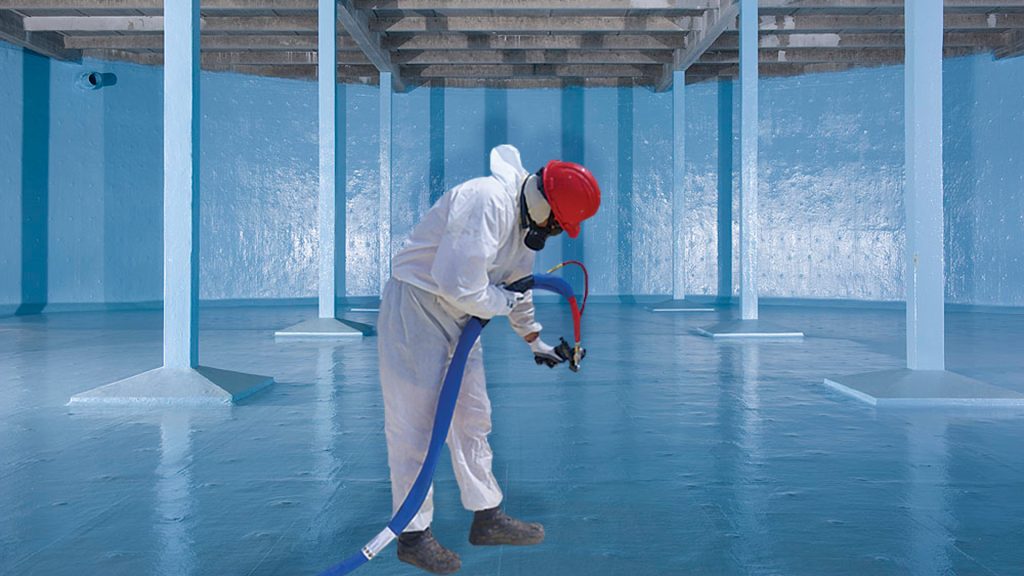
Not to put pressure on you before you put pressure into your equipment, but from the moment you start spraying – it’s go time. Uneven passes? Too close? Maybe too far? Small missteps in isolation, but together one after another these mistakes will create bubbles and pinholes faster than you can say polyurea, let alone begin to correct course. Remember, your spray gun is powerful, but not especially forgiving. Therefore consistency is key in all its myriad facets. This means keeping a steady hand, an even pace, and the right distance from tip to surface. We also recommend overlapping your passes by 50% to make sure no spot is missed and that there’s plenty of polyurea to go around, without giving too much or too little to any given region. Lastly, remember to calibrate your equipment before each application and work hard to precisely dial in the right pressure and temperature. This can be trickier than it sounds, but their optimization is non-negotiable and the start of the beginning of a successful new coatings system.
Fix the Flaws Before They Become Failures
The unfortunate truth is that even with thorough preparation and expert technique, pinholes and bubbles can still sneak through. So your job is to make this happen as infrequently as possible, and then catch what remains early before handling them like a professional. In other words, inspection isn’t optional, but rather an opportunity to spot any imperfections before they turn into costly whoopsie redos. Simply start with a close-up look under good lighting, and if you spot a bubble sand it down to a smooth surface before applying a patch coat. If instead you notice thin spots or pinholes, then try to fill them in with a fresh layer of polyurea and be mindful of how it blends with the rest of the system. For larger problems, grinding and re-spraying might be your only option, so take each step with care and professionalism and it’ll be you and the customer alike saying thank you at the end of the job.
Bring It All Together
The key takeaway from our discussion is that pinholes and bubbles can be largely avoided when you’re knowledgeable and prepared. This entails being equipped to prevent them from forming in the first place and eliminating them when they appear regardless of your efforts. Make sure to keep your substrate clean and dry, master precise application techniques, and learn the quick fixes needed to address any post-inspection mistakes. Again, we can’t stress this enough: the more you understand the process, the less room there is for defects to take over – it’s all about control. Master these steps and the skills that underpin them and you’ll apply polyurea that lasts, protects, and speaks for itself.


